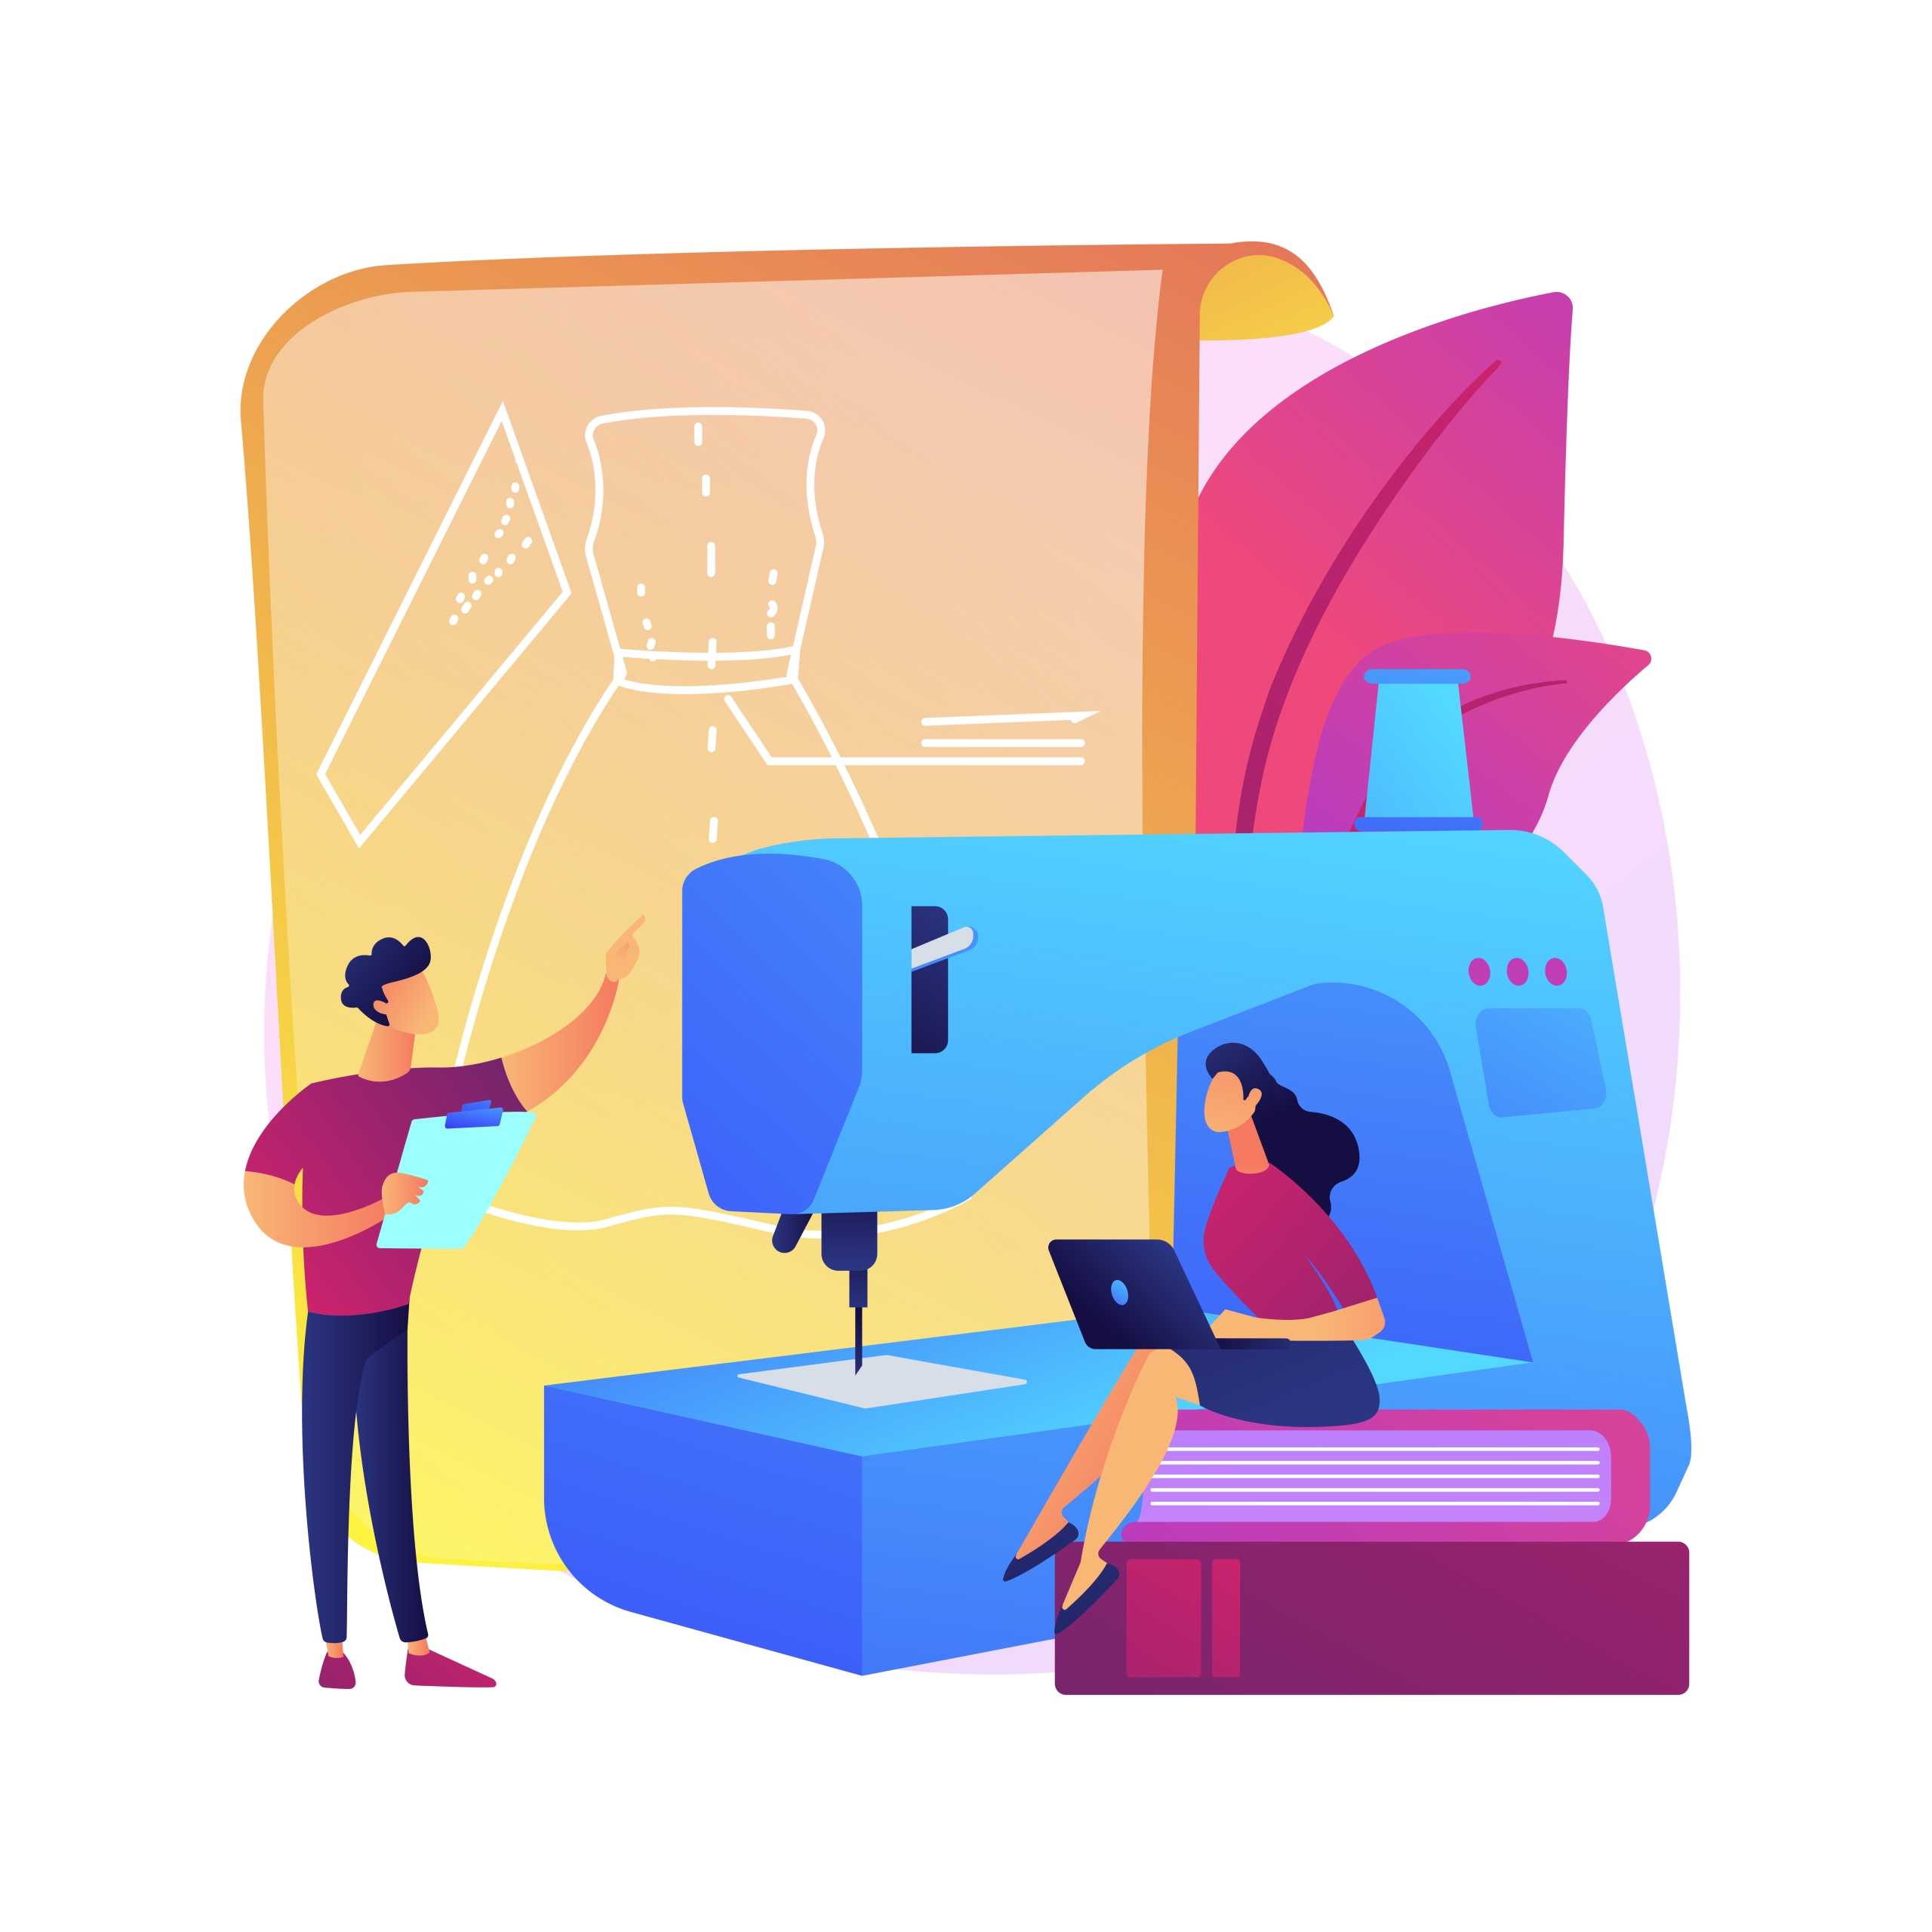
Embroidery digitizing is a specialized process that converts artwork into stitch instructions for embroidery machines. Whether you’re a beginner or a professional, understanding the nuances of digitizing can help you achieve high-quality embroidered products. Here’s a comprehensive FAQ answering the most common questions about embroidery digitizing to help you navigate this complex but rewarding craft.
What Is Embroidery Digitizing?
Embroidery digitizing is the process of converting a graphic design, logo, or artwork into a digital file that an embroidery machine can read and stitch. This involves translating the image into stitch types, directions, densities, and sequences to create a physical embroidery design on fabric12.
What File Formats Are Used for Digitizing?
Common embroidery machine file formats include:
- PES (Brother machines)
- DST (Tajima machines)
- EXP (Melco machines)
Artwork for digitizing is ideally submitted in vector formats like AI, EPS, or SVG, or high-resolution raster images (300 DPI or higher) such as PNG or JPG. Vector files are preferred because they can be scaled without losing quality23.
How Long Does the Digitizing Process Take?
The time required depends on the complexity of the design, stitch density, and the digitizer’s skill. Simple logos may take a few hours, while intricate designs with many colors and details can take several days to digitize properly1.
What Are Underlay and Top Stitches?
- Underlay stitches are the foundational stitches laid down first to stabilize the fabric and provide a base for the top stitches. They prevent fabric puckering and improve design durability.
- Top stitches are the visible stitches that form the design’s final appearance15.
How Do I Choose the Right Stitch Type?
The choice depends on the design and fabric:
- Satin stitches are great for fine details and lettering.
- Fill stitches work well for large, solid areas.
- Running stitches are used for outlines or small details.
Understanding fabric type is crucial because different fabrics react differently to stitch types and densities1.
What Is Stitch Density and Why Is It Important?
Stitch density refers to how closely stitches are placed. Too high density can cause fabric puckering and stiffness, while too low density results in a thin or incomplete look. Adjusting stitch density based on fabric type ensures a smooth, professional finish1.
Can I Digitize a Photo?
Yes, but it requires advanced skills. Photos must be converted into stitch types and colors that embroidery machines can replicate. Auto-digitizing software can help but often requires manual refinement for clarity and realism1.
How Do I Prepare My Artwork for Digitizing?
- Use solid colors and avoid gradients or shadows.
- Provide high-resolution or vector files.
- Remove unnecessary backgrounds.
- Merge layers if submitting layered files like PSD or AI.
- Simplify complex details that may not stitch well125.
Can I Combine Multiple Designs into One File?
Yes, most digitizing software allows merging multiple designs into a single embroidery file. Ensure the combined design fits within the hoop size and that stitch types and densities are optimized for a clean result1.
What Are Common Digitizing Mistakes to Avoid?
- Using low-quality or small images.
- Ignoring fabric type and stitch density adjustments.
- Creating designs with very thin lines or tiny text (below 0.2 inches).
- Overcomplicating designs that are too detailed for embroidery1.
How Do I Adjust Designs for Different Fabrics?
- Use lower stitch density and more stabilizers for lightweight or stretchy fabrics.
- Use higher stitch density for thick or coarse fabrics like denim.
- Underlay stitches are especially important for stabilizing stretchy materials1.
Can I Digitize My Logo or Artwork Myself?
Yes, with embroidery digitizing software, you can digitize your own designs. However, it requires understanding stitch types, density, and sequencing to ensure quality. Beginners may find professional digitizing services helpful to avoid costly mistakes12.
What Software Is Best for Digitizing?
Popular embroidery digitizing software includes Wilcom, Hatch, Brother PE-Design, and Bernina ArtLink. The best choice depends on your skill level, budget, and specific needs. Many offer tutorials and free trials to get started1.
How Do I Test My Digitized Design?
Always preview your design in the software and, if possible, stitch a sample on fabric similar to your final product. This helps identify issues like thread breaks, puckering, or missing details before full production1.
What Is Auto-Digitizing?
Auto-digitizing is a feature in some software that automatically converts artwork into stitch files. While convenient, it often produces lower-quality results than manual digitizing and usually requires manual editing1.
Why Is Professional Digitizing Worth It?
Professional digitizers have the experience to optimize stitch paths, densities, and underlay for different fabrics and designs. This results in cleaner embroidery, fewer errors, and less wasted material, ultimately saving time and money15.
How Do I Communicate with My Digitizer?
Provide clear instructions including:
- Desired stitch style (flat, 3D puff, etc.)
- Garment type and fabric
- Final embroidery size
- Preferred thread colors or codes1.
Can Digitizing Services Help with Design Optimization?
Yes, many services offer advice on simplifying designs, choosing stitch types, and adjusting artwork to ensure the best embroidery results. Don’t hesitate to ask for recommendations before digitizing1.
Conclusion
Embroidery digitizing is a blend of art and technical skill that transforms your designs into beautiful stitched creations. By understanding the process, file requirements, stitch types, and fabric considerations, you can avoid common pitfalls and ensure your embroidery projects succeed. Whether you choose to digitize yourself or work with professionals, this FAQ provides the foundational knowledge to get started confidently.