The art of digital embroidery is fascinating, and knowing how to convert SVG files to Inkstitch can elevate your designs. No matter your experience level, this guide from QualityCare will walk you through the process. Using Inkscape and Inkstitch, you’ll optimize your designs for embroidery machines and achieve professional results.
SVG: what is it?
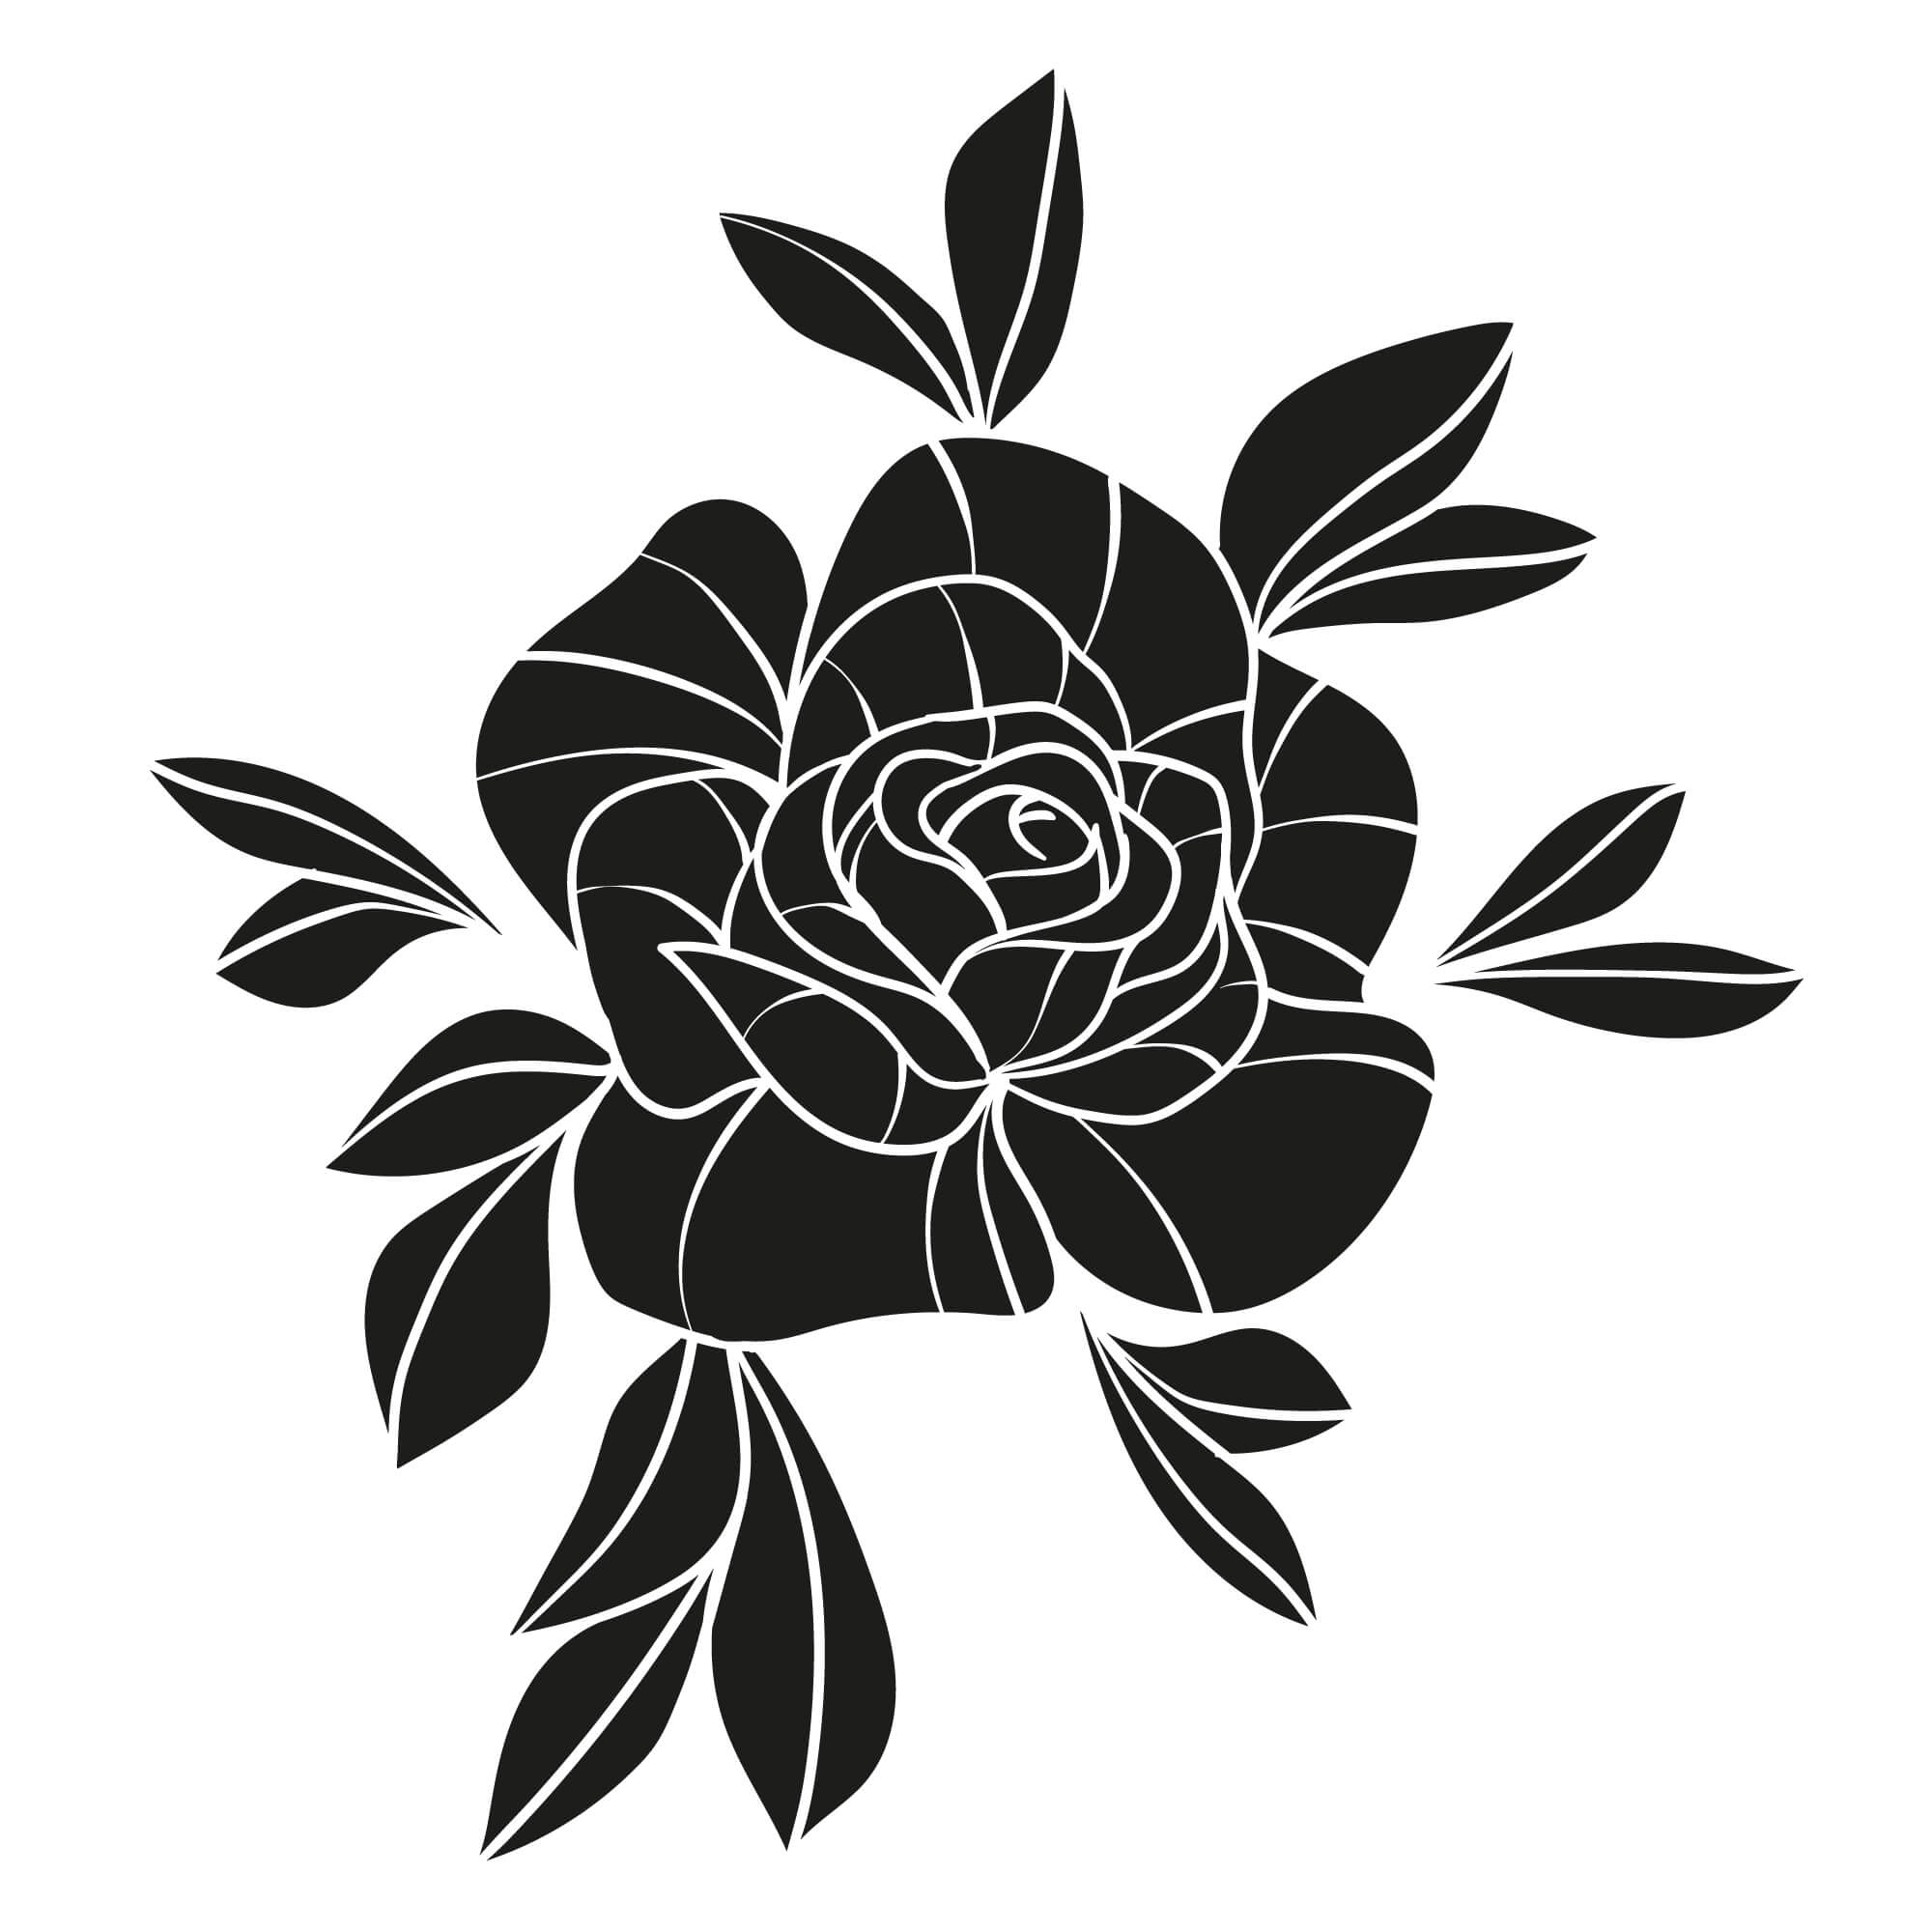
SVG files (Scalable Vector Graphics) store vector artwork. They maintain quality at any size, making them ideal for:
- Website graphics
- Illustrations
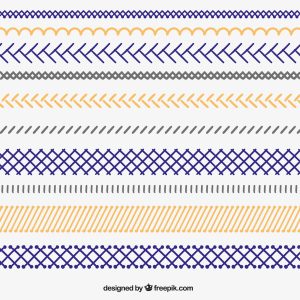
- Embroidery designs
SVG’s scalability and precision make it perfect for creating intricate, clean designs ready for embroidery.
Inkstitch: what is it?
Inkstitch is an extension for Inkscape, a popular open-source vector graphics editor. Inkstitch allows you to:
- Select custom stitch types (satin, fill, run)
- Adjust stitch density
- Create patterns and embroidery-ready designs
By converting SVG files with Inkstitch, you can produce precise, machine-compatible embroidery designs.
What’s the point of converting SVG to Inkstitch?
Converting SVG to Inkstitch allows you to:
- Ensure stitch precision
- Adapt designs to different fabrics
- Export files in machine formats like PES, DST, or EXP
This skill streamlines your embroidery workflow and helps create professional-quality designs.
Converting SVG to Inkstitch: Step-by-Step
1. Get your SVG file ready
- Simplify complex shapes and remove unnecessary elements
- Minimize nodes and avoid overly intricate details for embroidery
2. Download and install Inkstitch
- Download and install Inkscape from the official website
- Get the Inkstitch extension and integrate it with Inkscape following the instructions
3. Upload your SVG
- Open Inkscape and import the SVG via File > Import
- Ensure design elements are compatible with embroidery
4. Set your stitch settings
- Choose the right stitch type (satin for borders, fill for larger areas)
- Adjust stitch density according to fabric type and design complexity
- Perfect paths and remove overlaps using node editing tools
5. Export and preview
- Preview your design in Inkstitch
- Make final adjustments if needed
- Export in a machine-readable format like PES, DST, or EXP
Conversion Tips
- Keep designs simple to avoid stitching mistakes
- Match design colors with your machine’s thread palette
- Test stitch on a similar fabric to check accuracy
Common Issues to Troubleshoot
- Too much stitch density: Reduce stitch density to prevent thick, stiff embroidery
- Overlapping nodes: Ensure paths are clean and do not overlap
- Wrong stitch type: Assign correct stitch types for each design element
Final Thoughts
For embroidery enthusiasts, learning to convert SVG files to Inkstitch is a game changer. By following these steps, you can create embroidery-ready designs using Inkscape and Inkstitch for personal or professional projects.
Start converting SVGs today and take your embroidery projects to the next level!