How to Digitize Your Logo for Embroidery Online: Easy Steps for Perfect Stitching
Title: How to Digitize Your Logo for Embroidery Online: Easy Steps for Perfect Stitching
Are you looking to give your brand a professional edge with embroidered logos? Digitizing your logo for embroidery is the first step towards creating high-quality stitched designs that will make your brand stand out. Fortunately, with online services, the process has never been easier or more affordable.
Here’s a simple guide on how to digitize your logo for embroidery online, ensuring the best results for your branding needs.
- Choose the Right Service: Start by selecting the best embroidery digitizing service online. Look for reliable providers that offer affordable vector art services and specialize in digitizing logos for embroidery. Research is crucial here to ensure you get the quality and affordability you need.
- Prepare Your Logo: Before digitizing your logo, make sure it’s in the right format. Vector files like .ai, .eps, or .svg work best as they can be easily scaled without losing quality. If you don’t have a vector file, a high-resolution image (300 DPI or higher) can also suffice.
- Select the Stitch Type: Discuss with the digitizing service which stitch type would best suit your logo. Depending on the complexity and design elements, they may recommend satin stitches, fill stitches, or a combination of both to achieve the desired look.
- Upload Your Logo: Once you’ve chosen the service and prepared your logo, upload the file to their platform. Most online digitizing services have user-friendly interfaces that make the process quick and straightforward.
- Specify Details: Provide specific instructions regarding the size, colors, and any other preferences for your embroidered logo. Clear communication ensures that the digitizer understands your requirements and delivers the results you envision.
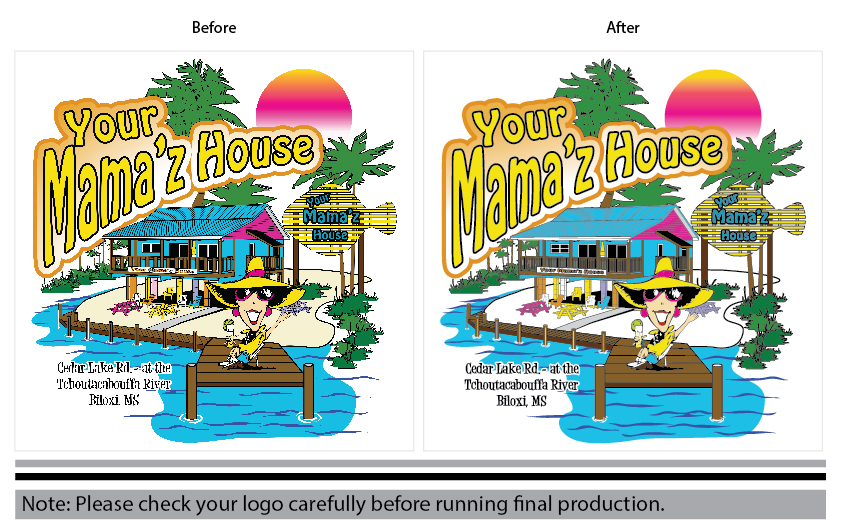
- Review the Proof: After digitizing your logo, the service will typically provide a proof for your review. Take this opportunity to carefully inspect the design, paying attention to details like stitch density, alignment, and overall appearance.
- Request Revisions if Needed: If there are any aspects of the digitized logo that don’t meet your expectations, don’t hesitate to request revisions. Good digitizing services value customer satisfaction and will work with you to make necessary adjustments until you’re happy with the final result.
- Approve the Final Design: Once you’re satisfied with the digitized version of your logo, approve the final design. At this stage, the service will provide you with the necessary files for embroidery, typically in formats like .DST, .PES, or .EMB.
- Choose Your Fabric and Thread: Consider the type of fabric and thread colors you’ll be using for the embroidery. Different materials and colors can affect the appearance of the stitched logo, so make sure they complement your brand’s aesthetic.
- Embroider Your Logo: Finally, it’s time to embroider your logo onto your desired items, whether it’s polo shirts, hats, jackets, or bags. If you’re not familiar with embroidery machines, you can always seek assistance from local embroidery shops or online tutorials.
In conclusion, digitizing your logo for embroidery online is a convenient and cost-effective way to elevate your brand’s image. By following these simple steps and working with reputable digitizing services, you can achieve professional-looking embroidered logos that leave a lasting impression.
Remember, for the best results, choose a provider that offers both affordable vector art services and top-notch embroidery digitizing services. With the right partner, you can showcase your brand with confidence through beautifully stitched logos on a variety of promotional and apparel items.
Don’t wait any longer—digitize your logo for embroidery today and take your brand to the next level!


Leave a Reply
Want to join the discussion?Feel free to contribute!